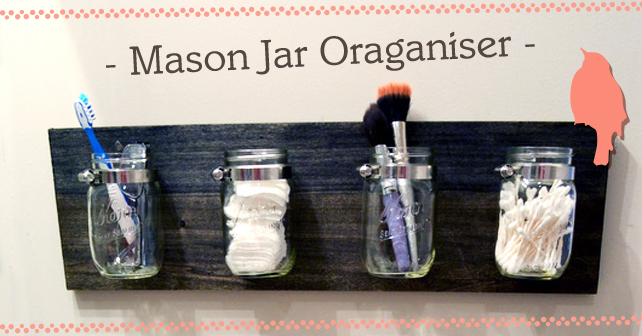
I am loving jars at the moment, they are so cute, funky and just look awesome! Here are the DIY instructions so you can create a unique storage facility perfect for bathrooms, kitchens, studies – anywhere really!
Ok, lets get started – here’s what you need.
Materials (Bunnings can be your one stop shop!)
– Jars
– Hose clamps (buy the right size to fit around your jar)
– Wood
– Wood stain
– Picture hanging kit
– Drill & screws
- Stain the wood
You want to make sure the wood is looking good so its time to stain. Pick a stain that will match the theme you have in the house. Once you have got the stain you want make sure you let the wood dry afterward before moving on to the next step. - It’s time to drill
First mark out on the wood where you want the jars to be placed, now get the hole started with the drill – this is where you will screw in the hose clamp. Now drill a hole in the hose clamp. Once you have the hole in the clamp and the start of a hole in the wood it is time to match up the holes and screw the clamp to the wood. Make sure its nice a tight you don’t want it coming off. (repeat for each clamp) - Add the Jars
Now clamp in the Jars and you are nearly done! - It time to hang
Take your picture hooks and attach to the back of the wood like you would if you are hanging a frame. Once this is complete now mount the hooks on the wall and you are done.
Simple, easy and it looks great!
![]()


1,284 Responses to “DIY Jar Display”