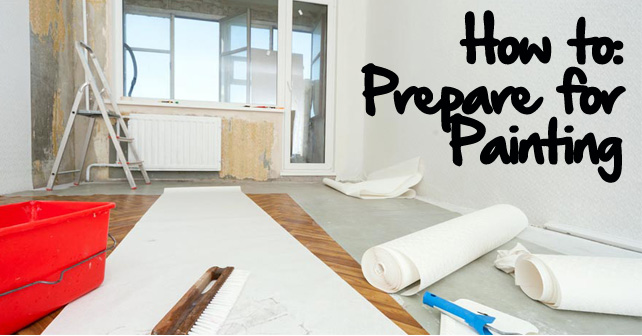
Painting can be a task and a half but to making painting that much easier it is so important to prep the area first! Here are some tips.
Start by removing any fixtures or hardware that might get in the way of your project. Loosen up fixtures and remove curtain rods, switch-plates and door hinges. Yes, it does take time, but it isn’t extra time. If you leave things in place that will create obstacles for your paintbrush or roller, you will be wasting time trying to cover or paint around them later. You’ll take more time, and the end result won’t look as professional as if you’d cleared everything away to start with.
After you have an unobstructed shot at the walls, clean them with a damp sponge or a dry cloth. Grease, dust and grime buildup will keep paint from making a good bond on your walls, and could cause streaks. Give the room a once over, and be on the lookout for nail holes, gouges and other imperfections that need to be filled with spackle and rough spots that could use some sanding. Little repairs like this, especially in older homes, can make a big difference in the appearance of the final paint job. Once you’ve cleaned the walls and done a few minor fix-ups, apply primer to any sanded areas. If you’ve sanded large areas, you might consider using a paint that has primer incorporated into it and eliminate the need to prime the walls as a separate step.
Now you’re ready to mask any molding, built-ins and baseboards with painter’s tape and start laying down drop cloths. After that, painting your room will be easy.


1,272 Responses to “How to: Prepare for Painting”